


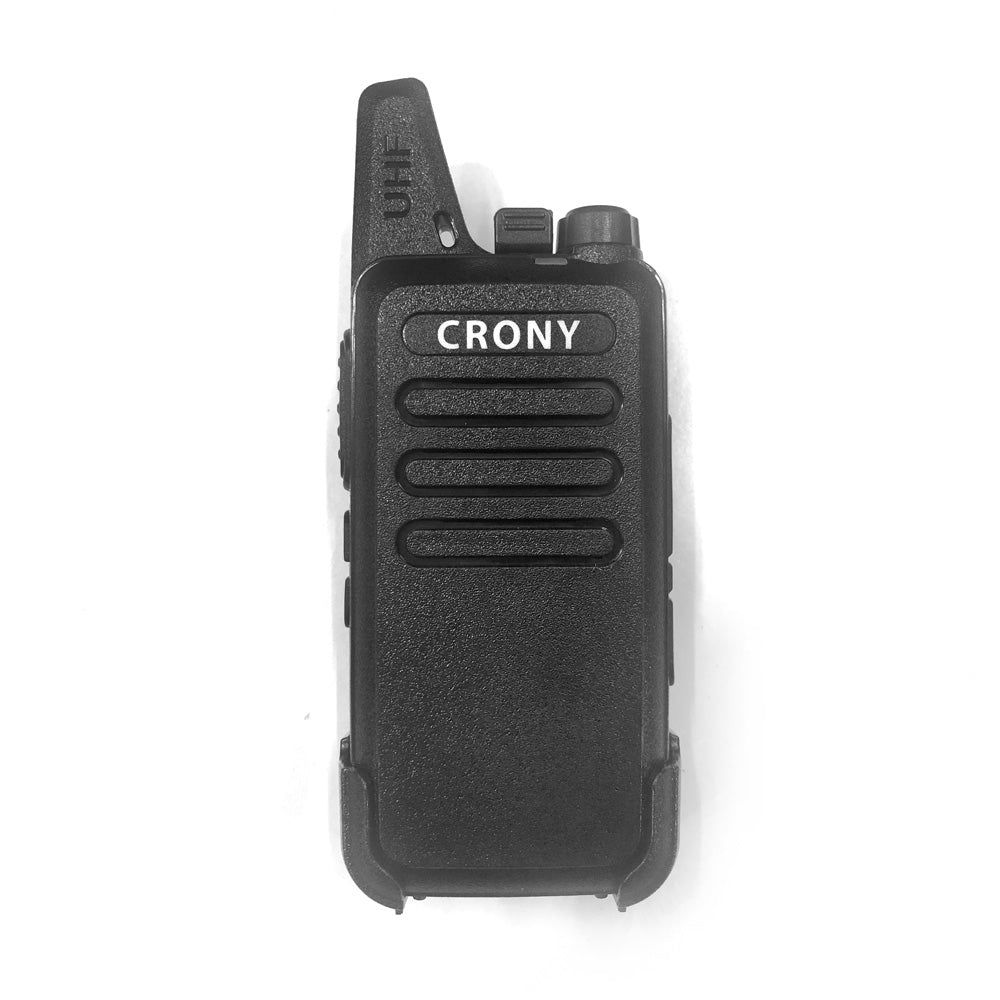
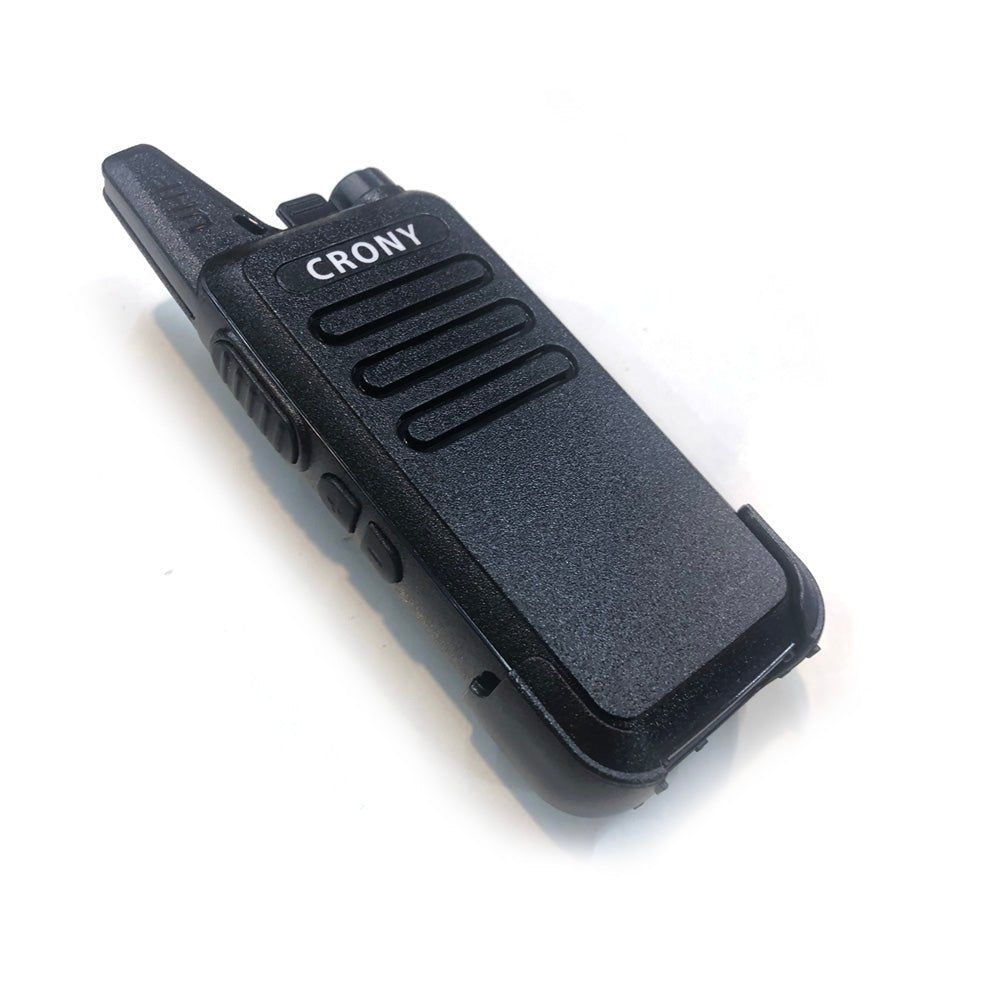
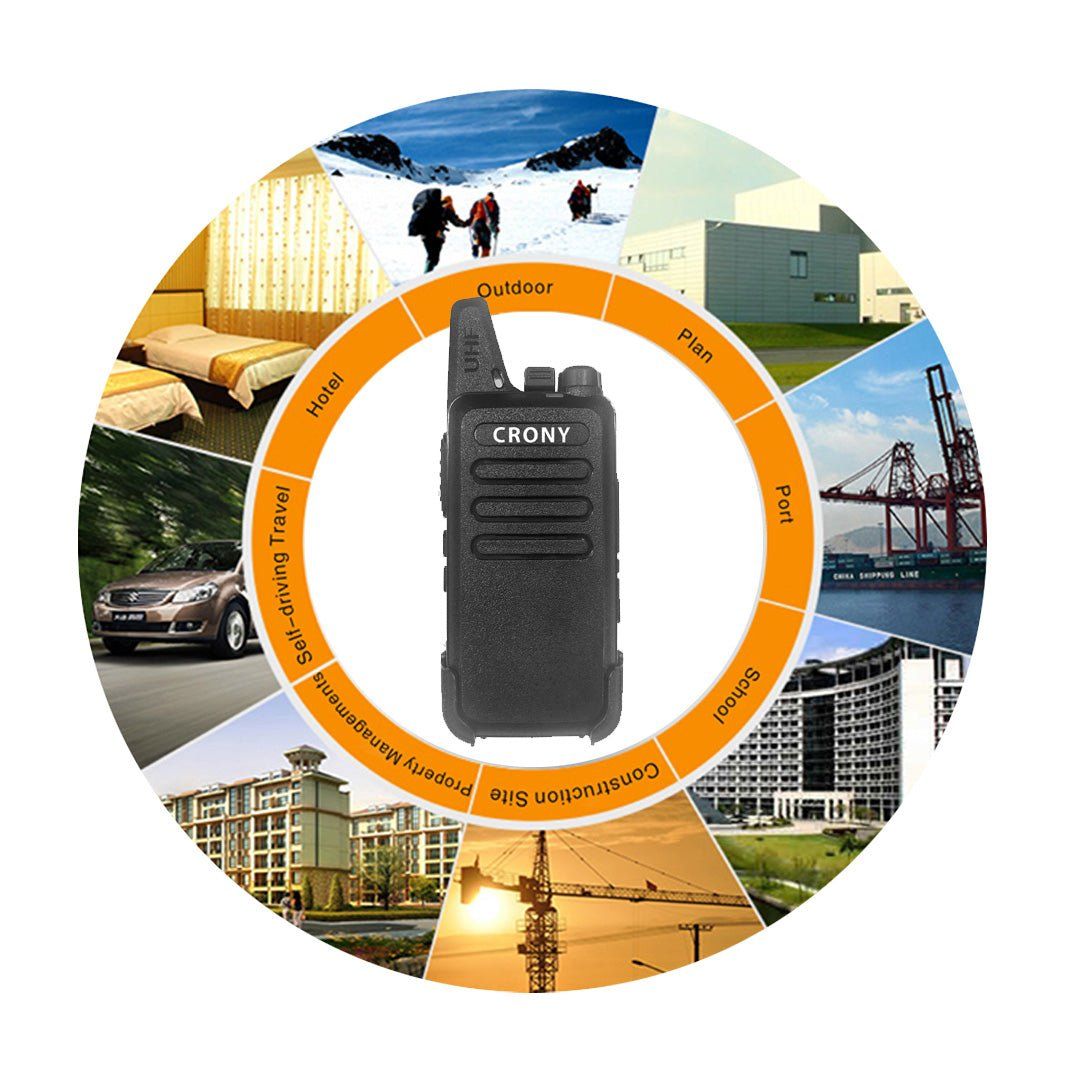
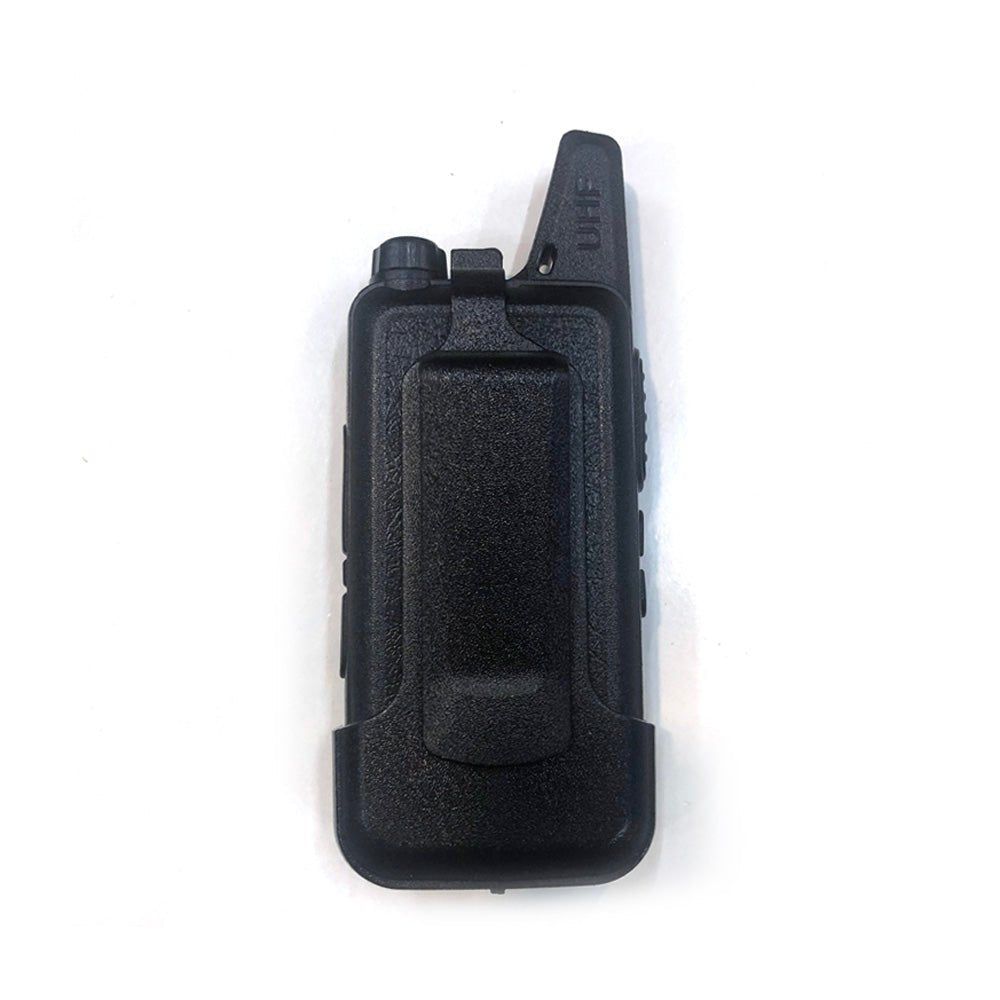
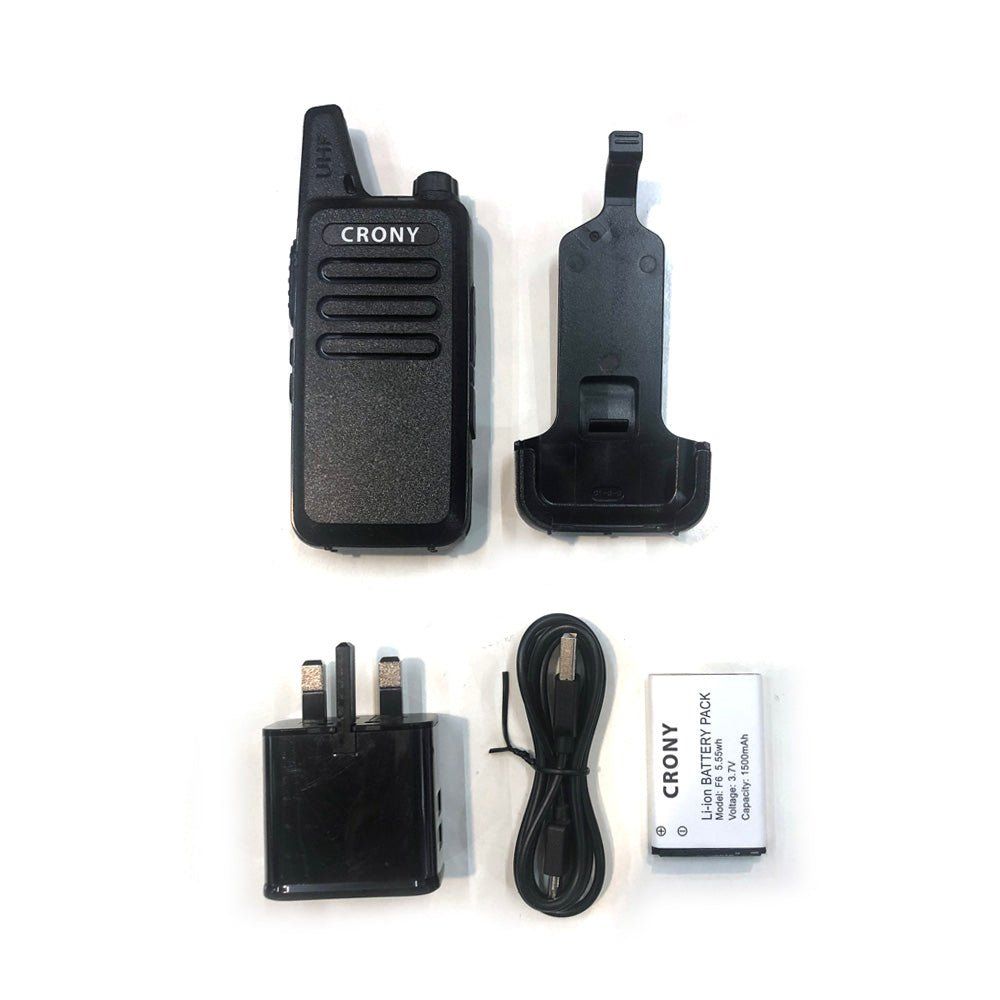


- Designed specifically to make Walkie Talkie more functional.
- You can carry your radio on your waist, it leaves your hands free.
- It's extremely durable and lightweight.


Walkie-talkie Steps
Install the frequency writing software and USB driver on the computer, and install according to the software prompts.
Insert the USB end of the writing frequency cable into the USB interface of the computer, and connect the other end to the accessory interface of the walkie-talkie.
Turn on the power switch of the walkie-talkie.
Click the desktop shortcut on the computer to open the writing software.
Click "Read Frequency", select the communication port, click "Confirm" to read the default configuration of the walkie-talkie.
After the frequency reading is successful, modify the parameters that need to be configured on the frequency writing template, such as: sending and receiving frequency, contacts, etc.
After the modification is completed, click Write frequency and wait for the walkie-talkie to restart and write frequency to complete.
Remove the radio frequency writing cable, and perform a functional test on the radio to confirm that the frequency writing is successful.
| Specification | |
| Model | F6 |
| Communication Range | 1-3 KM |
| Voltage | 3.7V |
| Channel Capacity | 16 |
| Antenna Type | Integrated |
| Output Power | 2W |
| Audio Power | 300mW |
| Battery Capacity | 1500mAh |
| Additional Features | Dustproof, USB Charging, Handsfree Mode, Ultra Thing Design, Computer Programmable |


Working Hours
Monday to Thursday - 8 am to 4 pm
Friday - 8:30 am till 12:30 pm


This website uses cookies.
In order to provide a more relevant experience for you, we use cookies to enable some website functionality. Some of the cookies are used for statistical purposes while others are set up by third party services.
By clicking "Allow", you accept the use of all the cookies on the platform. Click "Decline Non Essential" to select only strictly necessary, or "Preferences" to make more detailed choices.